Preheat the oven to 350˚F (180˚C). Grease a 9-inch springform pan with nonstick spray.
Line the bottom of the pan with parchment paper.
In a large blender or food processor, combine chocolate graham crackers and melted butter. Mix to combine until mixture is moist and thick. Push the graham cracker crumb mixture into the Springform pan, using a Mason jar to compact the crust into an even layer.
Bake for 8 minutes. Transfer to an elevated cooling rack and let the pan sit for 15-20 minutes.
In a large bowl, combine the cream cheese, remaining 2 cups of sugar and salt. With your hand mixer, mix until the cream cheese mixture if fluffy.
Add the half and half and mix until well incorporated.
Mix in sour cream, flour, salt, and vanilla extract, and beat to combine.
Wrap the outside of the springform pan tightly with foil and place the pan in a roasting pan. Fill the pan with 1 inch of boiling water.
Gently transfer the roasting pan to the oven and bake for 1 hour.
Without opening the oven door, turn off the heat and let the cheesecake rest for 1 hour.
Remove the springform pan from the roasting pan and unwrap the foil. Use a sharp knife loosen the cheesecake from the sides of the pan.
Cover the pan with aluminum foil and put in your refrigerator at at least 8 hours.
Release the springform lever, remove the ring gently and pull back the parchment paper from the cake. If you are moving it to another pan use a large pancake spatula to get underneath the bottom parchment paper and transfer the cake to your desired dish.
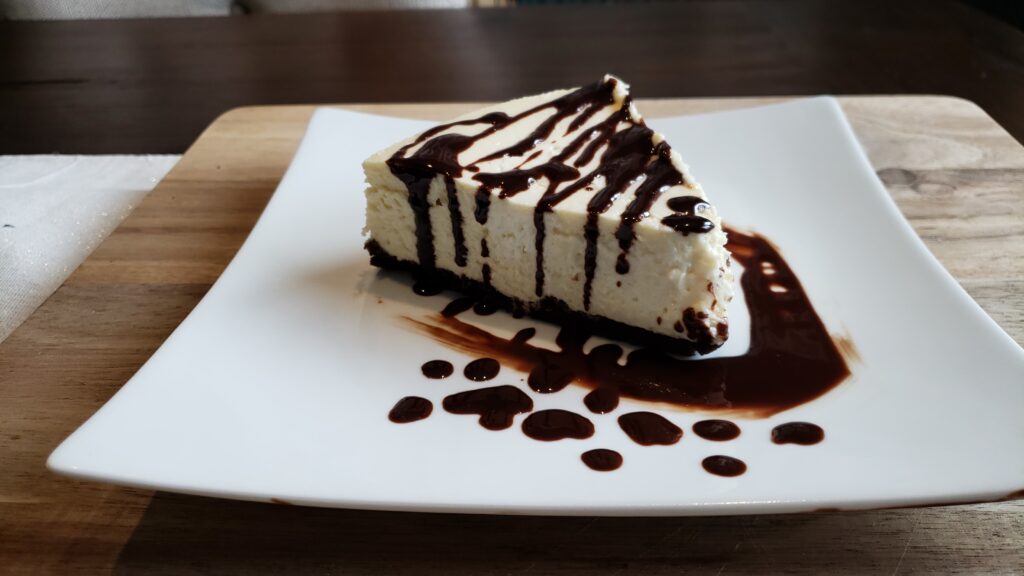
For the chocolate syrup topping, add all ingredients into a small saucepan. Heat on medium low, whisking every minute or so until the sauce thickens. Drizzle over the cheesecake. Refrigerate any leftovers for future use.